


How To Prepare the Ground for Aeration and Seeding
Proper ground preparation for aeration and seeding is essential when it comes to enhancing your farmland’s health and productivity. Aeration improves soil structure and ensures the seeds have the best possible environment to germinate and grow. Here’s how to prepare the ground for aeration and seeding.
Step 1: Assess the Soil’s Condition
Look for signs of compaction, such as water pooling on the surface after rain or difficulty digging. Compacted soil will benefit the most from aeration. Wait for a more suitable time to begin the process if the soil is too dry or wet.
Step 2: Clear the Area
Ensure you’ve removed debris, such as rocks and old plant material, before mowing. This critical step prevents damage to aeration equipment and ensures you complete the ventilation and planting processes evenly. Skipping this step can lead to uneven aeration, hindering the seed’s contact with the soil and affecting germination rates.
Step 3: Mow the Existing Vegetation
Mow the grass or any existing vegetation at the lowest setting. Lowering your mower’s setting helps the aerator penetrate deeper into the soil. Avoid tearing up large piles of grass by not sharpening your mower blades. Cuts from unsharpened blades can stress the plants and negatively impact their recovery post-aeration.
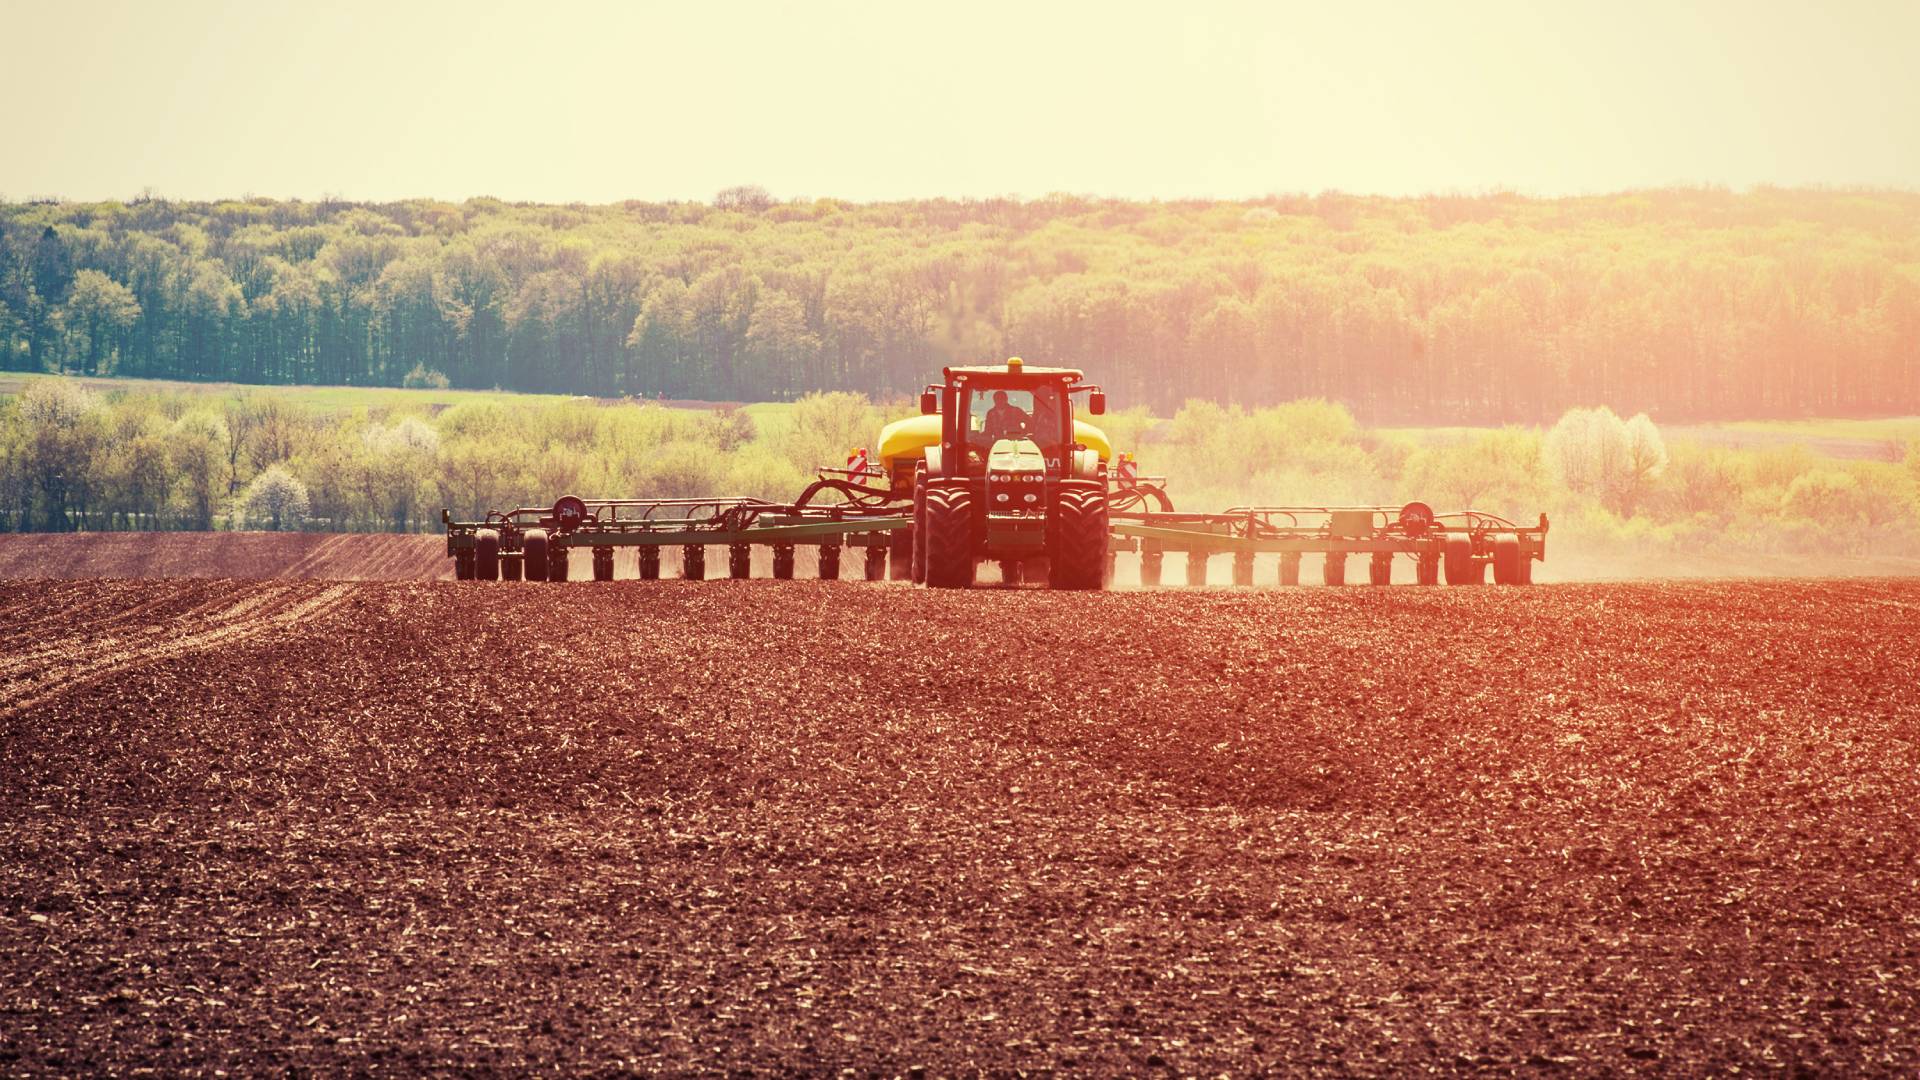
Step 4: Choose the Right Aeration Equipment
Select an appropriate aeration tool. A mechanical core aerator is ideal for larger areas. Manual aerators are suitable for smaller plots. Avoid spike aerators as they can compact the soil further instead of relieving density. Use a core aerator to remove soil plugs so air, water, and nutrients can penetrate deeply and enhance your field’s results.
Step 5: Aerate the Soil
Begin the aeration process by running the aerator over the soil in multiple directions to ensure thorough coverage. Avoid making too few passes, as insufficient aeration will not provide the necessary benefits. Proper aeration promotes better soil structure and root growth.
Step 6: Apply Organic Matter
Apply organic matter, such as well-rotted manure, after aerating. This addition improves soil fertility and water retention. Ensure you distribute the organic matter well to avoid nutrient imbalances.
Step 7: Seed the Area
Farmers should use auger drill bits for seeding. These tools create the perfect holes for seeds, ensuring they go in at the proper depth and spacing. Improper seeding techniques, such as broadcasting seeds on the surface, can lead to poor germination and uneven crop stands.
Step 8: Water the Soil
Water the soil gently after seeding to settle the seeds and promote initial growth. Avoid overwatering, which can wash away seeds or cause soil compaction. Keep the soil moist but not waterlogged to avoid delays in the growing process.
Common Mistakes To Avoid
- Skipping soil assessments leads to ineffective aeration.
- Ignoring debris removal causes equipment damage and results in uneven aeration.
- Using incorrect seeding tools leads to improper seed placement and poor germination.
Farmers and agriculturalists can ensure they prime their fields for optimal seed growth and soil health by preparing the ground for aeration and seeding. Proper preparation minimizes mistakes and maximizes the benefits of aeration and seeding, leading to healthier, more productive crops.